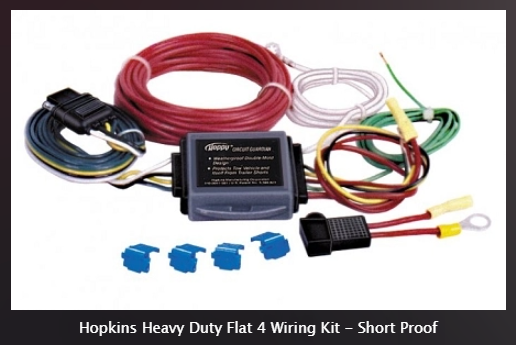
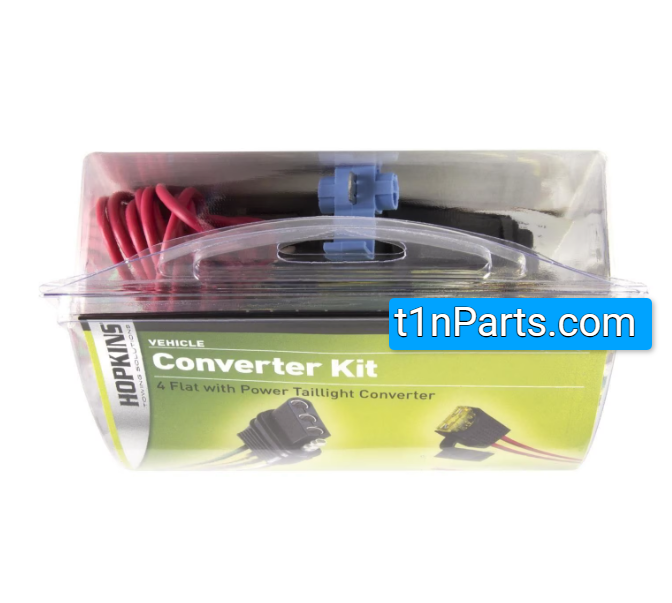
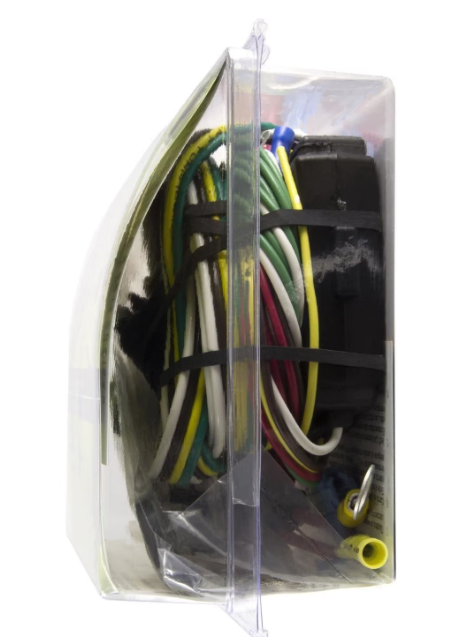
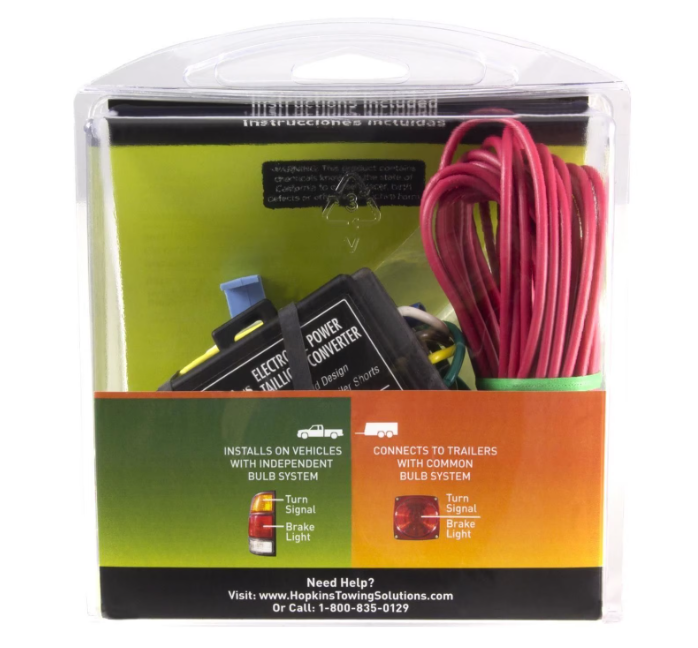
Description
Hopkins Heavy Duty Flat 4 Trailer Tail Light Converter Wiring Kit – Short Proof – Kit for 2001 – 2006
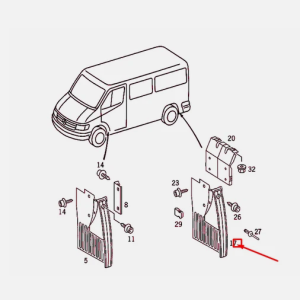
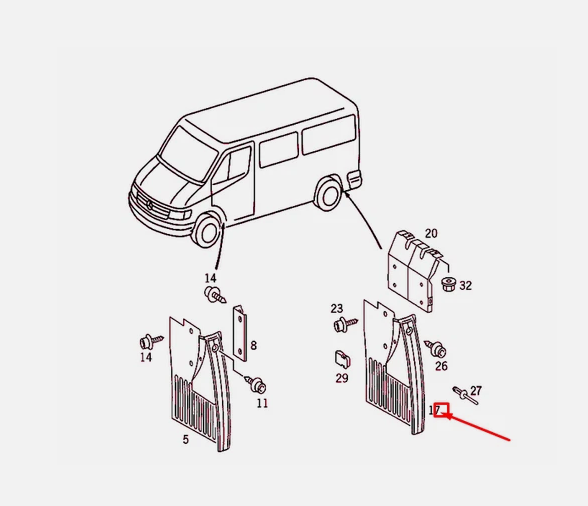
Dodge & Freightliner T1N Sprinter Vans
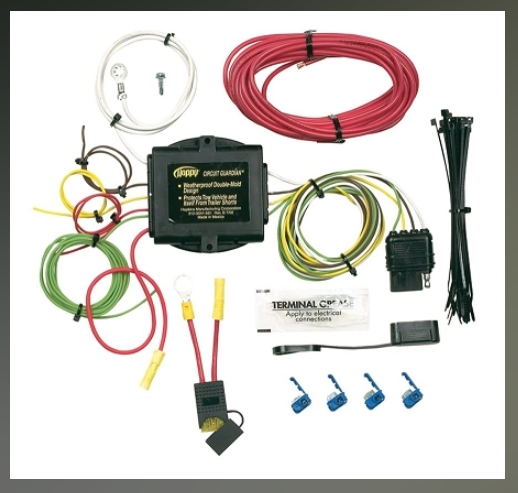
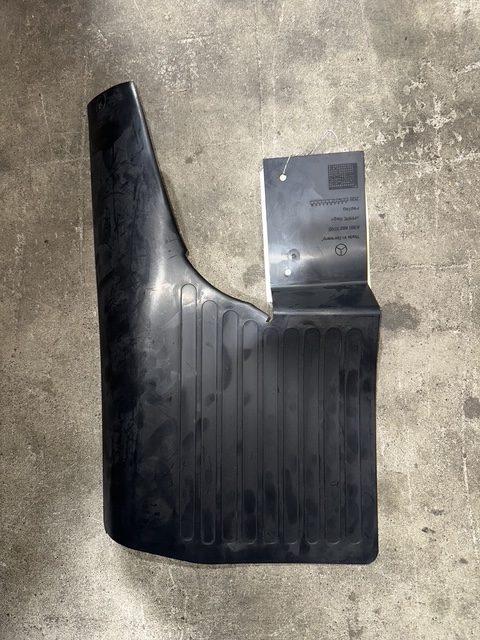
Hopkins Active Tail Light Converter with Install Kit
T1N Taillight Converter (Solid State)
* For 2001-2006 T1N Sprinter Vans equipped with independent bulb turn signals or common bulb systems
- Trailer Connectors
- Vehicle End Connector
- 4 Flat
- Plug and Lead
- Hopkins
Many of todays vehicles do not possess the electrical means for powering the extra voltage requirements of a trailer. Power taillight converters units completely isolate the tow vehicle from trailer malfunctions. Power is taken directly from the battery for isolation and brighter trailer tail lights.
https://youtu.be/hBS90UC_pdU
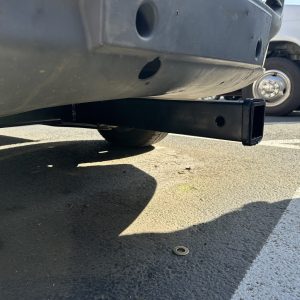
Looking for a Hitch for your T1N Sprinter? Click Here
| Weight | 1.5lbs |
|---|---|
| Length | 108 In with 20 Ft Power Wire |
Installation Instructions
1. This kit is for vehicles without factory taillight connectors that require sophisticated electronic protection.
2. Locate lighting system wires in trunk or at the rear of the vehicle. For best results, attach converter wires 6” – 8” away from the lamp assemblies.
3. Use a circuit tester to identify individual wires by function (tail, left turn, right turn, brake).
4. Use the splices provided to join the converter wires to the vehicle’s corresponding function wires as determined in Step 3. To use splices, open each to expose the wire run channel. Place vehicle wire, uncut and unstripped, into run channel and close. Insert corresponding harness wire into the tap port and join the wires by using a pair of pliers to crimp the U-contact flush with the top of the insulator. Close and latch outside cover. 5. Apply grease to the terminals and plug the 4-wire flat extension into the converter unit.
6. To protect it from damage, permanently mount the power converter to the vehicle in a secure place with the wire ties provided.
7. Drill a 1/8” hole into the nearest frame channel and attach the white ground wire with the screw provided.
8. Run the red battery feed wire from the power converter to the battery. Avoid the exhaust system, gas tank and drive train. Insert power feed wire into the fuse assembly, crimp connection and attach to positive (+) battery terminal. Use the wire ties provided to secure the battery feed wire. 20A fuse included.
9. Test all function outputs to assure proper installation. The power converter can only protect circuits that function through it. Auxiliary powered circuits that bypass the power converter are not protected.
10. Apply grease to all electrical connections to prevent corrosion.
This product can expose you to chemicals including (DEHP) which is known to the state of California to cause Cancer, Birth Defects, or other Reproductive Harm. For more information go to www.p65warnings.ca.gov.
Usually ships by the next business day. Please allow an additional 1-5 business days for delivery to most US locations.

Reviews
There are no reviews yet.